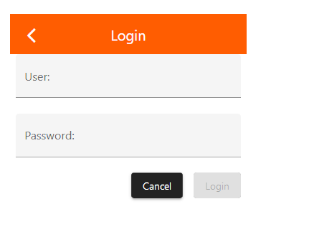
Username and password #
When accessing the setting or pairing settings for the first time, you will be asked for a user and password. These can be found on the product label on the back of the SMARTplayer. You can then switch back and forth between the tabs until you close the tab.
General #
After changing the settings restart the device in order to activate the new settings!
Name #
The product name is displayed by default. You can change this based on your needs, especially if you are using several SMARTplayers, such as ground floor, first floor, etc. Confirm the new name after entering it by clicking on the tick.
Language #

Language used
Time Zone #
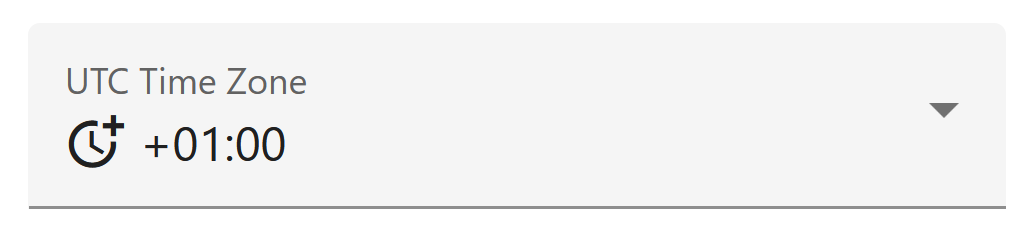
Here you select the desired time zone.
Uptime #

Here you can check since when the SMARTplayer has been running continuously. Specification in days, hours, minutes, seconds.
Advanced #
Serial number: Unique serial number of the SMARTplayer
Firmware: current installed firmware
Firmware update: Select the file and upload it to bring the SMARTplayer to the latest version and benefit from the latest features.
Restart #

Restart the SMARTplayer. All settings are retained.
Reset #

The SMARTplayer is reset to factory settings.
Network #
DHCP (on) #

DHCP stands for Dynamic Host Configuration Protocol and describes a process that automatically assigns configuration data to the SMARTplayer in a network. These include, for example, the IP address and network mask, default gateway or DNS.
With this setting the SMARTplayer is configured automatically. The blue LED of the SMARTplayer lights up permanently after successful registration in the network.
DHCP (off) #

Mode for IT technicians who want to manually assign static IP addresses and other settings to the SMARTplayer.
IMPORTANT: CHANGES BECOME EFFECTIVE AFTER RESTART
Audio #
Minimum Volume #

Analog Input Gain is used to set a minimum volume. This function is highly customer-dependent and is particularly valuable when the sound system is operated by changing employees. The master volume in LIVE mode cannot fall below the setting made here.
Gain input #

Using the gain control, the input signal from audio sources with insufficient volume can be compensated within a range of -12dB to + 32dB. This only applies to the analog input of the SMARTplayer (or SMARTstreamer).
Maximum Volume #
You can also use the gain setting to set the maximum volume by reducing the input signal.
Stream buffer size #
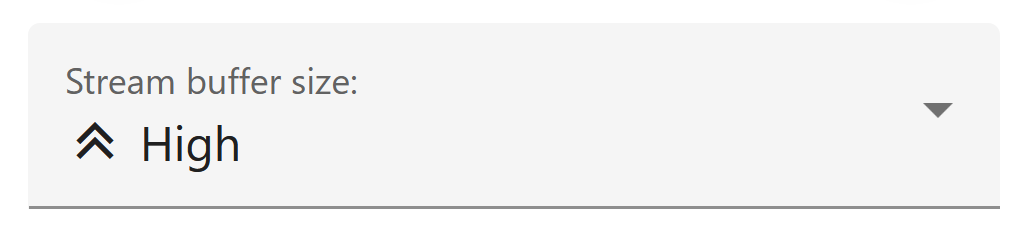
Due to the quality of different networks, the music transmission buffer can be set here. The higher the setting, the more latency (time offset) is in the transmission of audio data over the network.
Cinch socket input (only for ANALOG IN) #
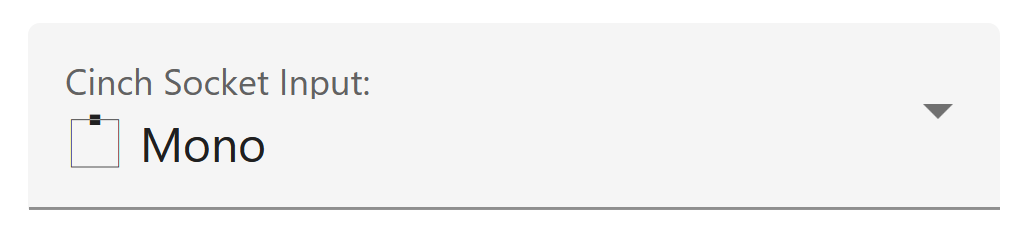
Selection of the analog input signal. If you connect an audio source with only one channel, you can select the corresponding channel, which doubles its volume (and the second channel does not remain unrecorded).
Evacuation (Mute) #
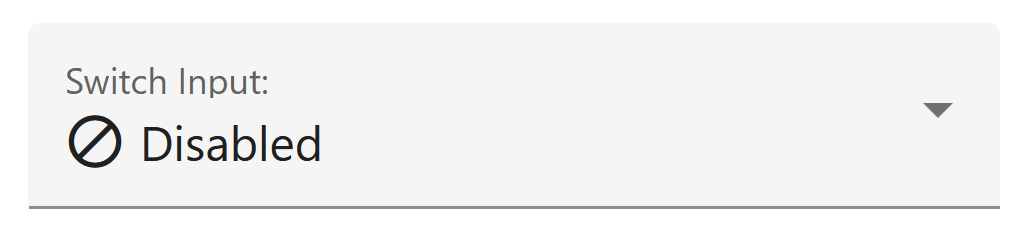
The switch input is used to connect to existing EVAC systems. As standard, the SMARTplayer is delivered with a bracket that bridges the two contacts. If you remove it, the player is set to “Mute”. According to the EVAC standard, a closed contact means that the music should be playing. This contact will be opened in the event of a fire. If the EVAC system works the other way around, this can be changed here. Attention: It is a potential-free contact without voltage! (Damage caused by supplying a voltage is not covered by the product guarantee). IMPORTANT: Reboot the SMARTplayer in order to activate the new setting!
SOURCES #
In this tab you will find preconfigured audio sources. By activating the individual sources, these appear for selection on the SMARTplayer LIVE mode. When using a SMARTstreamer, it sends in standard mode on CHANNEL 1 and can be received on the SMARTplayer on CHANNEL 1. No further adjustment is necessary. This applies to CHANNEL 1 to CHANNEL 6.
Activate a preconfigured audio source #
To activate an additional source, select it and activate it by checking the box on the left.
Create a new audio source #
 clicking opens a new tab. Then select the type of source.
Type #
Webstream #
Service for creating a digital music source by entering the corresponding URL. If the URL is protected by a USER and PASSWORD, then enter the data according to the following pattern: http://Username:Password@Url . The SMARTplayer supports exclusively http://…mp3 streams unencrypted. If there is only an encrypted “https” address available, remove the “s” and thereby cancel the encryption. Standard http://…mp3 streams unencrypted. A list of Radio URL you can find here URL http://fmstream.org/
Smartstream #
Service for creating additional digital music sources for transmission within the network from a SMARTstreamer to different SMARTplayers or other SMARTstreamers. Only necessary in the event that the 6 preconfigured CHANNEL 1 to CHANNEL 6 are not sufficient. In this case use multicast addresses like URL 239.10.140.30:42735 and number them upwards: 239.10.140.31:42735; URL 239.10.140.32:42735, etc. Create this audio source on all devices that are to send or receive the channel.
Smartstream Peer to Peer #
If you would like to set up a direct connection between SMARTstreamer and SMARTplayer, create a new CHANNEL and enter the corresponding IP addresses of the two devices, followed by PORT: 5000, for example 192.168.0.10:5000
Backup Source (webstream, smartstream) #
This setting serves as a safety function. If, for example, the Internet fails, the SMARTplayer switches to the set source or function.
File – Micro SD card (beta) #
To play mp3 files that are located on a Micro SD card (not included in the package), enter the name of the specific title along with the corresponding file extension (e.g., birthday.mp3) in order to play the file. If the title is located within a subdirectory, provide the appropriate path (e.g., Events/birthday.mp3).
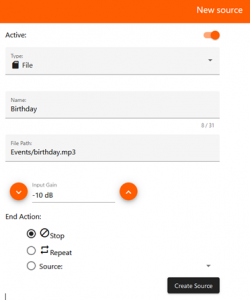
IMPORTANT: The SMARTplayer needs to be restarted after inserting the Micro SD card to access its content. This applies every time the card is removed and reinserted. The Micro SD card should be formatted in FAT32 with a maximum storage capacity of 32GB.
Backup source (file) #
Select the action to be carried out after the file or files have been played back.
Create Source #

After entering the data, click on “Create Source” and a new audio source will be created and available for selection.